
Getting a bali esim for iphone before you land means your maps, WhatsApp, and ride-hailing apps work the moment the plane touches down. At Simcardairportbali.com we help travelers skip the airport SIM card queue and activate a data plan on their iPhone in minutes. This guide walks through which iPhone models support eSIM, how to install and activate your plan, and what to do if something doesn’t work. You’ll also see how our airport pickup and fast activation process fits into your arrival day.
Key takeaways
- A bali esim for iphone works on iPhone XS and newer models, including all iPhone 14 and 15 variants sold in the US that lack a physical SIM tray.
- You can buy and install your eSIM before you fly, then activate it on arrival at Bali’s Ngurah Rai Airport in about five minutes.
- Setup uses the standard iPhone eSIM flow: scan a QR code or open a carrier link from Settings, then label the line and choose your default data line.
- Plans from Bali SIM Card & eSIM Plans for Tourists start small for light users and scale up to 53GB for heavy streaming and hotspot use.
- If your eSIM won’t connect, the fix is usually simple: toggle Airplane Mode, check that data roaming is on for the eSIM line, or reinstall the profile.
Which iPhones work with a Bali eSIM?
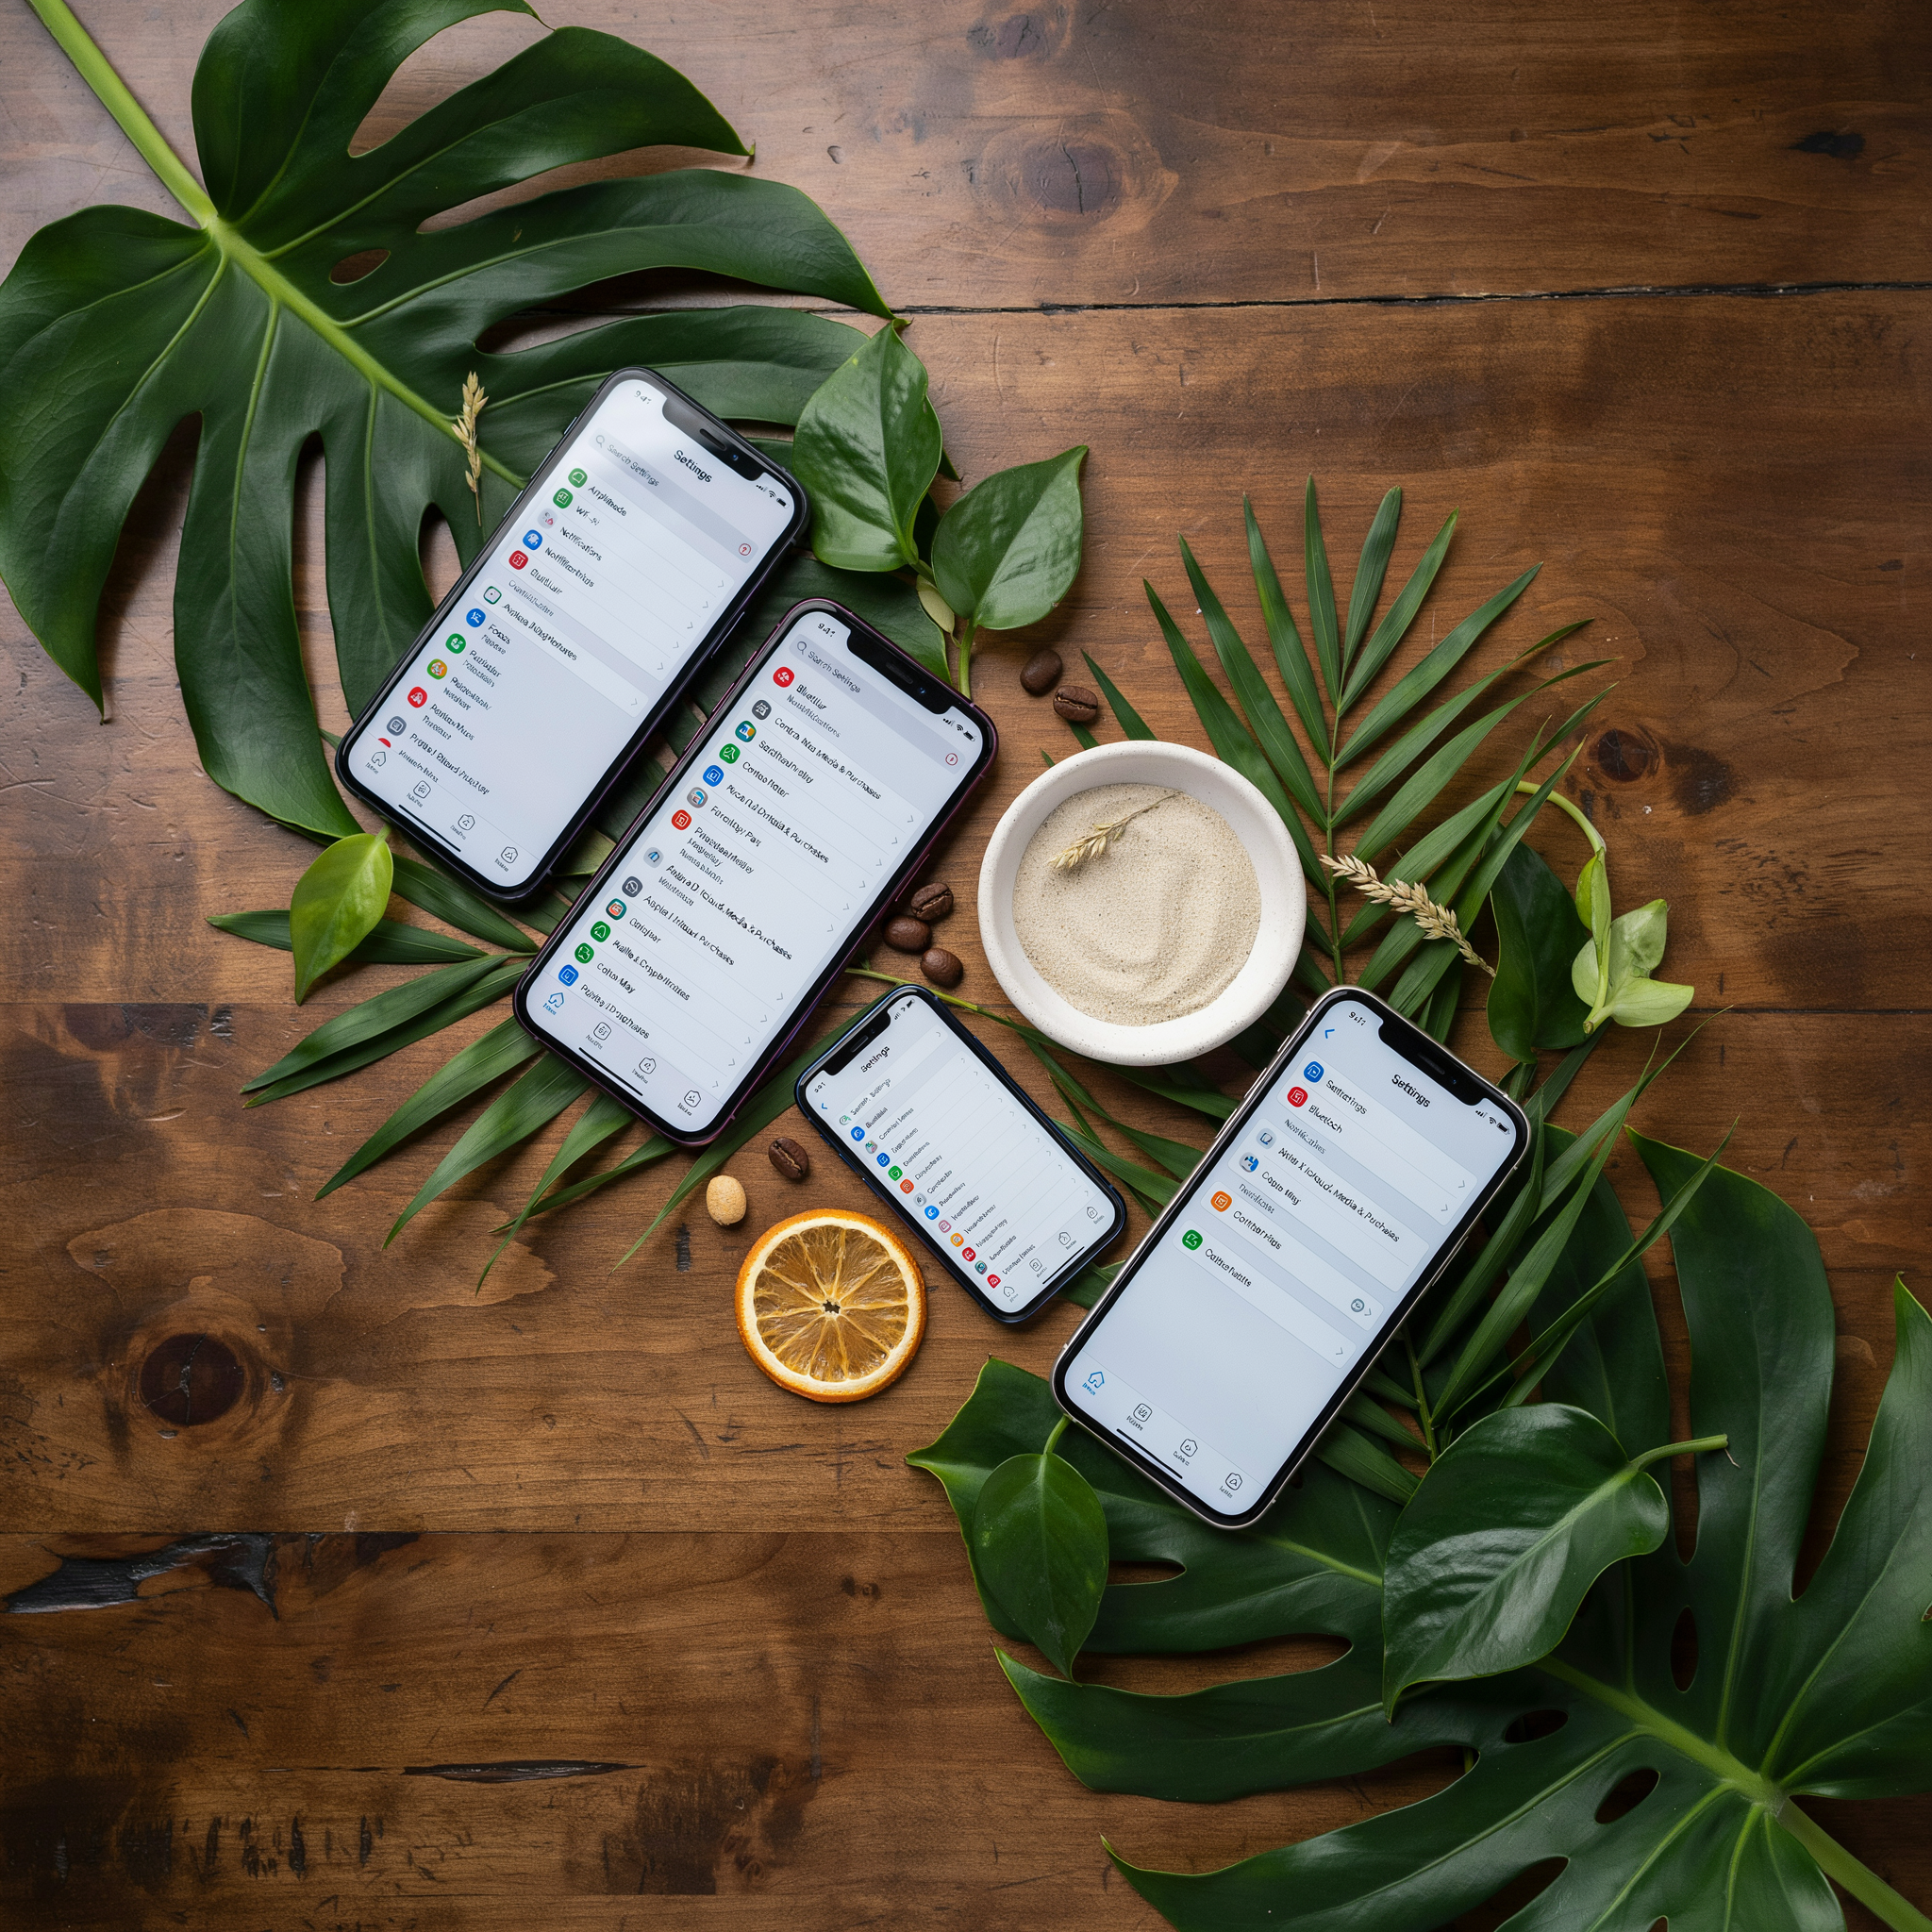
Bali eSIM iPhone compatibility starts with the model you carry. Every iPhone from the XS, XS Max, and XR onward supports eSIM. If your phone is from 2018 or later, you’re almost certainly fine. That includes the iPhone 11 series, iPhone 12 series, iPhone 13 series, iPhone 14 series, iPhone 15 series, and the iPhone 16 lineup. The iPhone SE (2nd generation) and iPhone SE (3rd generation) also support eSIM, which makes them a solid budget option for travelers.
One important distinction: iPhone 14 and later models sold in the United States do not have a physical SIM tray at all. They are eSIM-only. If you own one of those, a Bali eSIM is not just convenient, it’s your only option for local data. On older models, you can run a Bali eSIM alongside your home SIM in dual SIM mode. That’s handy for keeping your regular number active for calls and texts while using local data.
Dual SIM behavior on iPhone works like this: you can have two active lines at once, one physical and one eSIM (or two eSIMs on newer models). You choose which line handles data, and you can switch in Settings > Cellular. For a Bali trip, set your Bali eSIM as the data line and keep your home line for voice and SMS. Just be aware that some carriers charge for international roaming on the home line, so turning off data roaming for that line is a good idea.
Regional differences are worth a quick check. eSIM support is universal across iPhone models sold in most countries, but a few carrier-locked phones may restrict eSIM use. If you bought your iPhone through a carrier on an installment plan, confirm it’s unlocked before you travel. An unlocked iPhone is the only reliable path to Bali eSIM iPhone compatibility. Apple has a support page listing iPhone models with eSIM if you want to double-check your exact model.
How to set up your Bali eSIM on iPhone
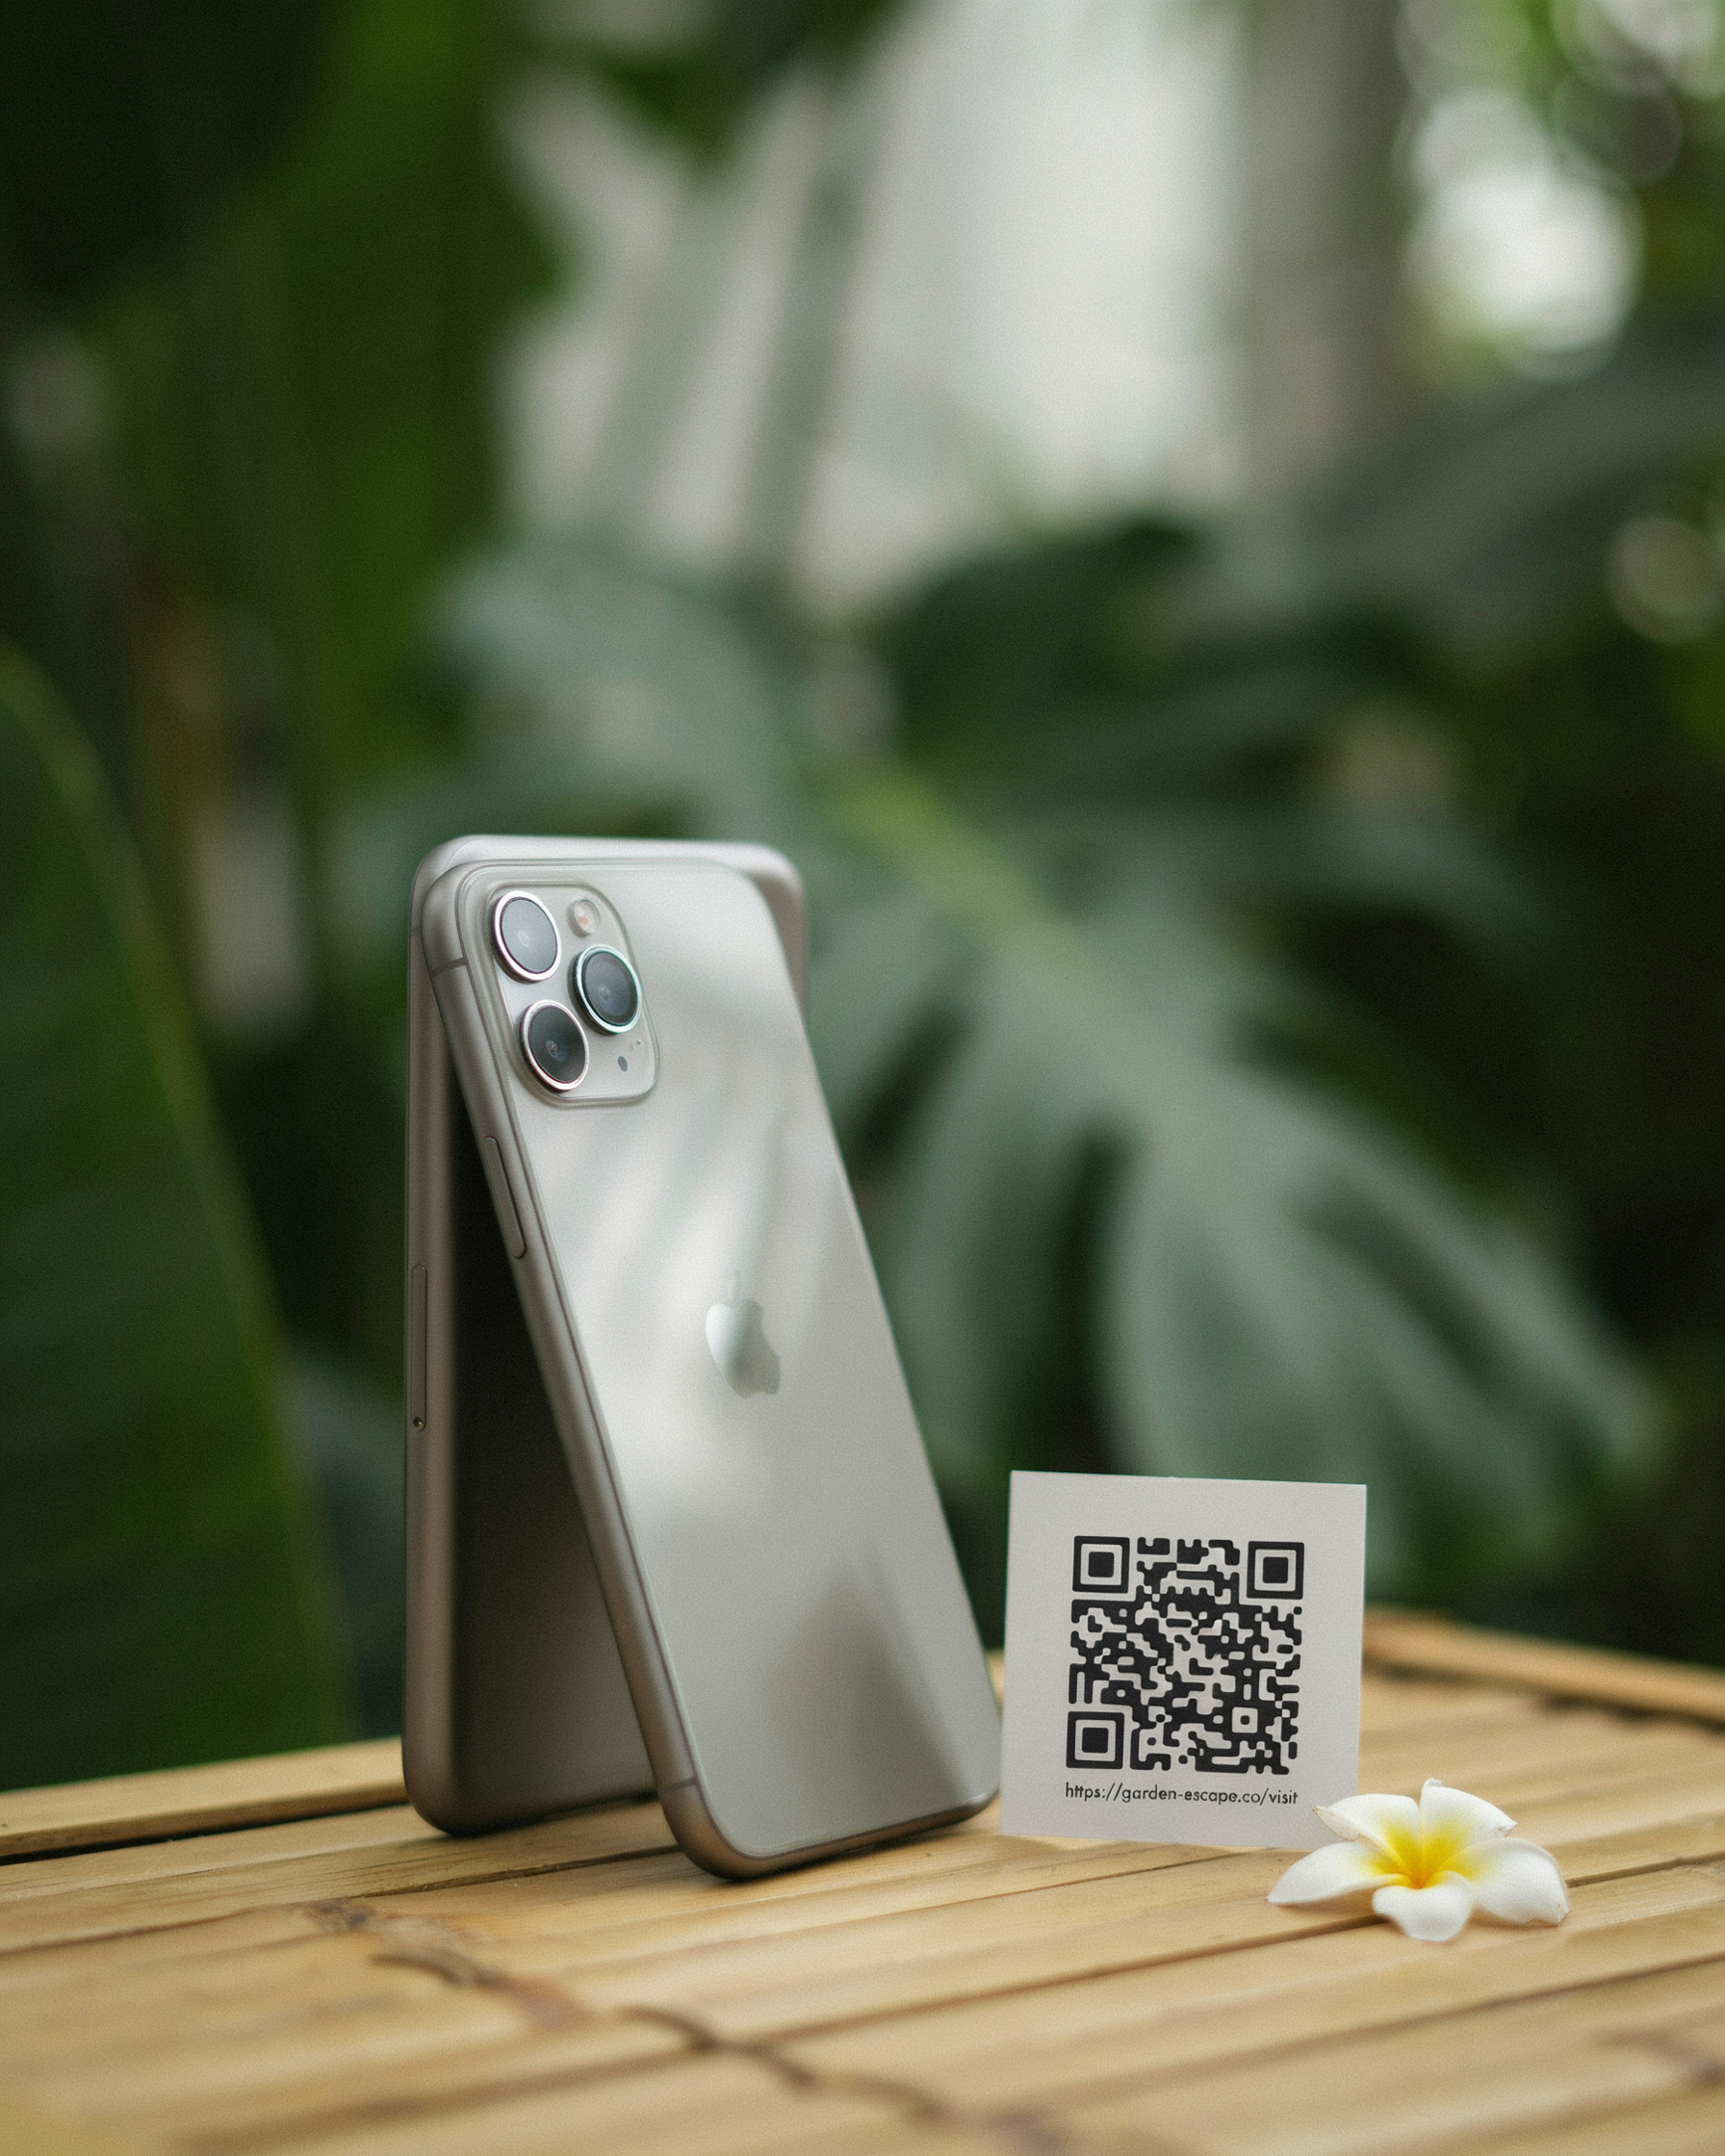
iPhone eSIM Bali setup takes about five minutes if you have your QR code ready. We recommend doing it before you board the plane, but it works just as well on airport Wi-Fi after you land. The steps are the same whether you bought your plan through our site or picked up a QR code at the airport counter.
First, open Settings and tap Cellular, then Add eSIM. Your iPhone will open the camera to scan the QR code we sent to your email. Hold the phone steady about six inches from the code. If the camera doesn’t read it right away, tap Enter Details Manually at the bottom of the screen and type in the SM-DP+ address and activation code from your confirmation email.
After scanning, your iPhone shows a preview of the plan. Tap Add Cellular Plan. You’ll then be asked to label the line. Choose Travel or Bali so you can tell it apart from your home line later. On the next screen, set your Default Line to Primary for calls and messages, and set Cellular Data to the new Bali eSIM. This keeps your home number active for iMessage and FaceTime while all data flows through the local plan.
Some travelers prefer app-based activation instead of scanning a QR code. If your plan was delivered through an app, open the app, tap Activate eSIM, and follow the prompts. The app handles the installation automatically and skips the camera step entirely. This is handy if your QR code email got buried or you’re setting up in a dimly lit arrival hall.
One thing to check before you leave: make sure your iPhone is unlocked. A carrier-locked iPhone won’t accept a second eSIM from a different provider. If you bought your phone through a carrier installment plan, contact them to confirm it’s unlocked. Most modern iPhones sold directly by Apple are unlocked from the start.
Once the eSIM is installed, turn off Wi-Fi for a moment and check that the cellular data indicator shows signal bars. You should see the carrier name appear in the status bar. If it says No Service, toggle Airplane Mode on and off once. That usually forces the phone to register on the local network. After that, you’re connected and ready to use maps, WhatsApp, and ride-hailing apps the moment you step outside the terminal.
Activating your eSIM at the airport
iPhone eSIM activation Bali works best when you time it right. We recommend installing the eSIM profile before you board the plane, while you still have reliable home Wi-Fi. The profile sits dormant on your iPhone and only connects once you land and switch it on. That way you avoid fumbling with QR codes in a busy arrivals hall.
When your flight touches down at Ngurah Rai International Airport, put your iPhone in airplane mode first. Then turn on Wi-Fi and connect to the airport’s free network if you need to finish the installation. Once the eSIM is installed, go to Settings, tap Cellular, and select your new Bali eSIM line. Toggle on “Turn On This Line” and enable data roaming for that line only. Your home line stays off, so you won’t rack up roaming charges.
Activation usually takes under two minutes. You’ll see the local network name appear in the status bar, often Telkomsel, XL Axiata, or Indosat Ooredoo depending on the plan you chose. If it doesn’t connect right away, toggle airplane mode off and on once. That forces the iPhone to search for the local network.
One common mistake is activating the eSIM while still on your home carrier’s network. Your phone may briefly connect to a roaming partner and trigger a daily fee. Keep your primary line off until the Bali eSIM shows full signal. Then you can safely use maps, WhatsApp, and ride-hailing apps from the moment you step outside the terminal.
Choosing the right Bali eSIM data plan
Most tourists overestimate how much data they’ll burn through, then end up paying for gigabytes they never touch. A week of maps, WhatsApp, ride-hailing, and light social scrolling usually lands around 5GB to 7GB. If you stream video or upload a lot of photos, double that. The Bali SIM Card & eSIM Plans for Tourists page lays out the full menu, but here’s how we think about it.
Short trips of three to five days work well with a 3GB plan. It covers navigation, messaging, and the occasional video call without forcing you to ration. For a week to ten days, the 10GB option feels comfortable. You won’t need to hunt for Wi-Fi at your villa, and you can share a hotspot with a travel partner now and then.
Longer stays change the math. Two weeks or more, especially if you work remotely or rely on your phone for entertainment, push you toward 13GB or more. The Book Bali eSIM Card 13GB product page shows exactly what that tier includes, and it’s a common pick for digital nomads and slow travelers.
Validity matters as much as data. A plan that expires in seven days is useless on day eight, no matter how many gigabytes remain. Check the validity window before you buy. Most of our plans run 30 days, which covers nearly every tourist itinerary, but shorter options exist for quick stopovers.
Price is the last filter. A 3GB plan costs less than a couple of airport coffees. The 10GB and 13GB tiers add a few dollars but remove the anxiety of running dry. If you want maximum headroom, the Get the Pocket Friendly Bali eSIM Card 53GB Data at Airport option is the one for heavy streamers and families sharing one connection.
One practical tip: start with a smaller plan and top up if needed. Topping up is easy through the provider’s app, and you’ll rarely need more than you expect. Buy for the trip you’re actually taking, not the one you might take.
Using your iPhone with a Bali eSIM
Once your bali esim for iphone is active, everyday use feels just like being on your home network. Maps, WhatsApp, Gojek, Grab, and Google Translate all work the moment you step out of the airport. We tell travelers to keep their primary line on for calls and texts, but set the Bali eSIM as the default for cellular data. That way you don’t burn through roaming charges from your home carrier while still receiving important SMS messages.
On your iPhone, go to Settings, then Cellular, then Cellular Data, and tap your Bali eSIM line. Turn off Allow Cellular Data Switching so the phone doesn’t hop between lines unpredictably. If you need to use your home line for a quick call, you can switch back manually. Most Bali eSIMs from Bali SIM Card & eSIM for Tourists work without any APN changes, but if data doesn’t flow right away, check the APN settings under Cellular Data Network. The correct APN is usually internet or indosatgprs, depending on the carrier, and our activation email includes the exact value for your plan.
Personal hotspot works with a Bali eSIM on iPhone, which is handy for sharing data with a travel companion or a laptop. Go to Settings, Personal Hotspot, and allow others to join. Keep an eye on your data usage in Settings under Cellular, because hotspot drains a plan faster than normal browsing. A 10GB plan lasts most people about a week with regular map use and photo uploads, but hotspot users burn through it in half that time.
Switching between your home line and Bali line is simple. In the Phone app, tap the line label at the top of the dialer to choose which number you call from. For WhatsApp, your number stays tied to your home SIM, so messages and calls continue working over the Bali eSIM’s data connection without any extra setup. We’ve seen travelers use this setup for weeks without touching their physical SIM.
Troubleshooting common eSIM problems
Most activation hiccups on iPhone come down to three things: the QR code not scanning, the profile not downloading, or the phone showing bars but no data. Start with the simplest fix. Toggle Airplane Mode on for ten seconds, then off. That forces the iPhone to re-register with the local network, which clears a surprising number of connection stalls.
If the QR code won’t scan, clean the camera lens and hold the phone steady about six inches from the screen. You can also enter the activation details manually. Go to Settings, then Cellular, then Add eSIM, and choose “Use QR Code” or “Enter Details Manually.” Your activation email from simcardairportbali.com includes the SM-DP+ address and activation code, so manual entry works even when the printed code is smudged.
Slow data is usually a network selection issue, not a plan problem. Go to Settings, then Cellular, then your Bali eSIM line, and tap Network Selection. Turn off Automatic and wait for the list to populate. Pick the network shown on your activation instructions, usually Telkomsel or XL Axiata. If the list won’t load, leave Automatic on and restart the phone.
When the eSIM shows as installed but you can’t get online, check that Cellular Data is pointed at the right line. On dual-SIM iPhones, go to Settings, then Cellular, then Cellular Data, and select your Bali eSIM. Also confirm Data Roaming is on for that line. Many travelers miss this step because they assume roaming should stay off, but for an eSIM from a local provider, the setting needs to be enabled.
If nothing works, delete the eSIM and reinstall it. Go to Settings, then Cellular, tap the eSIM, and choose Delete eSIM. Then scan the QR code again from your confirmation email. The eSIM can be reinstalled on the same iPhone without contacting support, and this clears corrupted profile downloads in most cases. If the problem persists, our team can resend the activation details or swap the plan to a physical SIM at the airport pickup desk.
Bali eSIM vs physical SIM card
If you’re deciding between a eSim Card and a traditional plastic SIM for your iPhone in Bali, the honest answer is that both work well. The right choice depends on how you travel and how much you value convenience over a slightly lower price.
| Factor | Bali eSIM for iPhone | Physical SIM card |
|---|---|---|
| Setup time | Activate before landing or in minutes at the airport | Requires swapping the SIM tray, often at a counter |
| Convenience | Keep your home number active alongside the eSIM | You lose access to your home SIM unless you carry two phones |
| Cost | Usually a small premium for the convenience | Often the cheapest option for heavy data users |
| Compatibility | iPhone XS, XR and newer models support eSIM | Works with any unlocked iPhone |
| Risk of loss | Nothing physical to lose or damage | Small card can be misplaced when swapping |
For most tourists, the eSIM wins on convenience. You can buy a Bali SIM Card & eSIM Plans for Tourists before your flight, scan a QR code, and have data the moment you land. No fiddling with a tiny tray, no waiting in line at a kiosk, and your WhatsApp number from home keeps working because your primary SIM stays active.
A physical SIM is still worth considering if your iPhone is older than the XS, if you plan to stay for several weeks and want the absolute lowest price per gigabyte, or if you simply prefer the familiar routine of swapping cards. Some travelers also find it easier to share a physical SIM between devices, though that’s less common now.
One thing we see often at Simcardairportbali.com is travelers who order a physical SIM online but then realize their iPhone is locked to their home carrier. An eSIM doesn’t bypass a carrier lock, so check that first. If your phone is unlocked, the Bali Airport eSIM Guide: Compatible Devices, Activation, and Prices walks through the exact steps for both options.
Frequently Asked Questions
Does a Bali eSIM work on my iPhone?
Yes, if your iPhone supports eSIM. Models from the iPhone XS and XR onward have eSIM capability, and iPhone 13 and newer can hold two eSIMs at once. Check Settings > General > About for an EID number, which confirms eSIM support.
Can I keep my home SIM active while using a Bali eSIM?
Yes. Most iPhones support Dual SIM with one physical SIM and one eSIM active at the same time. You can set your home line for calls and texts while the Bali eSIM handles data, so you stay reachable without roaming charges.
How long does it take to activate a Bali eSIM for iPhone?
Activation usually takes under five minutes after you scan the QR code or enter the activation details. The eSIM connects to a local network as soon as your iPhone finishes the setup, and you can start using data right away.
Do I need to unlock my iPhone to use a Bali eSIM?
Yes. Your iPhone must be carrier-unlocked to accept an eSIM from a different provider. If your phone is locked to your home carrier, contact them before your trip to request an unlock, which is often free for accounts in good standing.
What happens to my Bali eSIM after I leave Bali?
The eSIM stays on your iPhone until you delete it in Settings > Cellular. Data stops working once you leave Indonesia, but you can keep the eSIM profile for a future trip or remove it to free up an eSIM slot.
Can I use a Bali eSIM for iPhone with a local phone number?
Most tourist eSIMs are data-only, so you won’t get a local Indonesian number. For calls and texts, use WhatsApp, FaceTime, or other apps over data. Some providers offer voice plans, but data-only is the standard for short stays.

