
Bali eSIM activation is the process of installing a digital SIM profile on your phone so you get mobile data the moment you land at Ngurah Rai International Airport. Instead of swapping a physical SIM card, you scan a QR code and your phone downloads the network settings directly. For tourists, this means no queue at the airport counter and no fiddling with a tiny plastic card after a long flight.
We see the same confusion on every flight into Denpasar. Travelers arrive with a screenshot of a QR code, a phone that might not support eSIM, and no idea whether they need Wi-Fi to finish the setup. The activation itself is quick, usually under two minutes, but the preparation matters more than the scan. You need a compatible phone, an unlocked device, and a stable internet connection for the initial download.
What makes Bali eSIM activation different from a physical SIM is that everything happens before you leave the arrivals hall. A physical SIM requires you to find a vendor, show your passport, and wait while they register the number. An eSIM from Bali SIM Card & eSIM for Tourists is delivered as a QR code by email, so you can activate it while your bags are still on the carousel. The profile stays on your phone for the rest of your trip, and you can switch back to your home line whenever you want.
Key Takeaways
- Bali eSIM activation usually takes under five minutes once you scan the QR code and confirm the plan on your phone.
- Check your device is unlocked and eSIM-compatible before you travel, because a locked phone will block the setup entirely.
- Scan the QR code with your camera, then follow the on-screen prompts to label the line and set data roaming on.
- If the QR code fails, switch to manual entry using the SM-DP+ address and the matching activation code from your confirmation email.
- For pickup orders, the team at simcardairportbali.com hands you a ready-to-scan card at the airport and can help with the first connection on the spot.
Before You Start: Device Compatibility and What You Need
Bali eSIM activation only works on a phone that supports eSIM, and that’s the first thing to check. Most iPhones from the XS and XR onward have it, along with recent Google Pixel and Samsung Galaxy models. If you’re not sure, dial *#06# and look for an EID number on screen. No EID means no eSIM, and you’ll need a physical SIM instead.
The phone also has to be unlocked. A carrier-locked device will reject any eSIM that isn’t from your home network, so contact your provider before you fly if you bought the phone on a contract. It’s a quick check that saves a lot of frustration at the airport.
You’ll need three things ready before you start: the QR code or activation code from your booking, the phone itself, and a stable internet connection. That connection matters because the eSIM profile downloads over Wi-Fi or roaming data. Airport Wi-Fi works fine, but a weak signal can stall the process halfway through.
At simcardairportbali.com, the QR code is sent by email after you book, so keep it handy on a second device or printed out. Scanning from the same phone you’re setting up is awkward. A screenshot works too, as long as it’s clear enough for the camera to read.
One more thing: make sure your phone’s software is reasonably up to date. Older iOS or Android versions sometimes hide the eSIM menu or fail to read the QR code cleanly. A quick settings check before you land means the actual activation takes minutes, not an hour of troubleshooting.
How to Activate eSIM Bali: Step-by-Step for iPhone
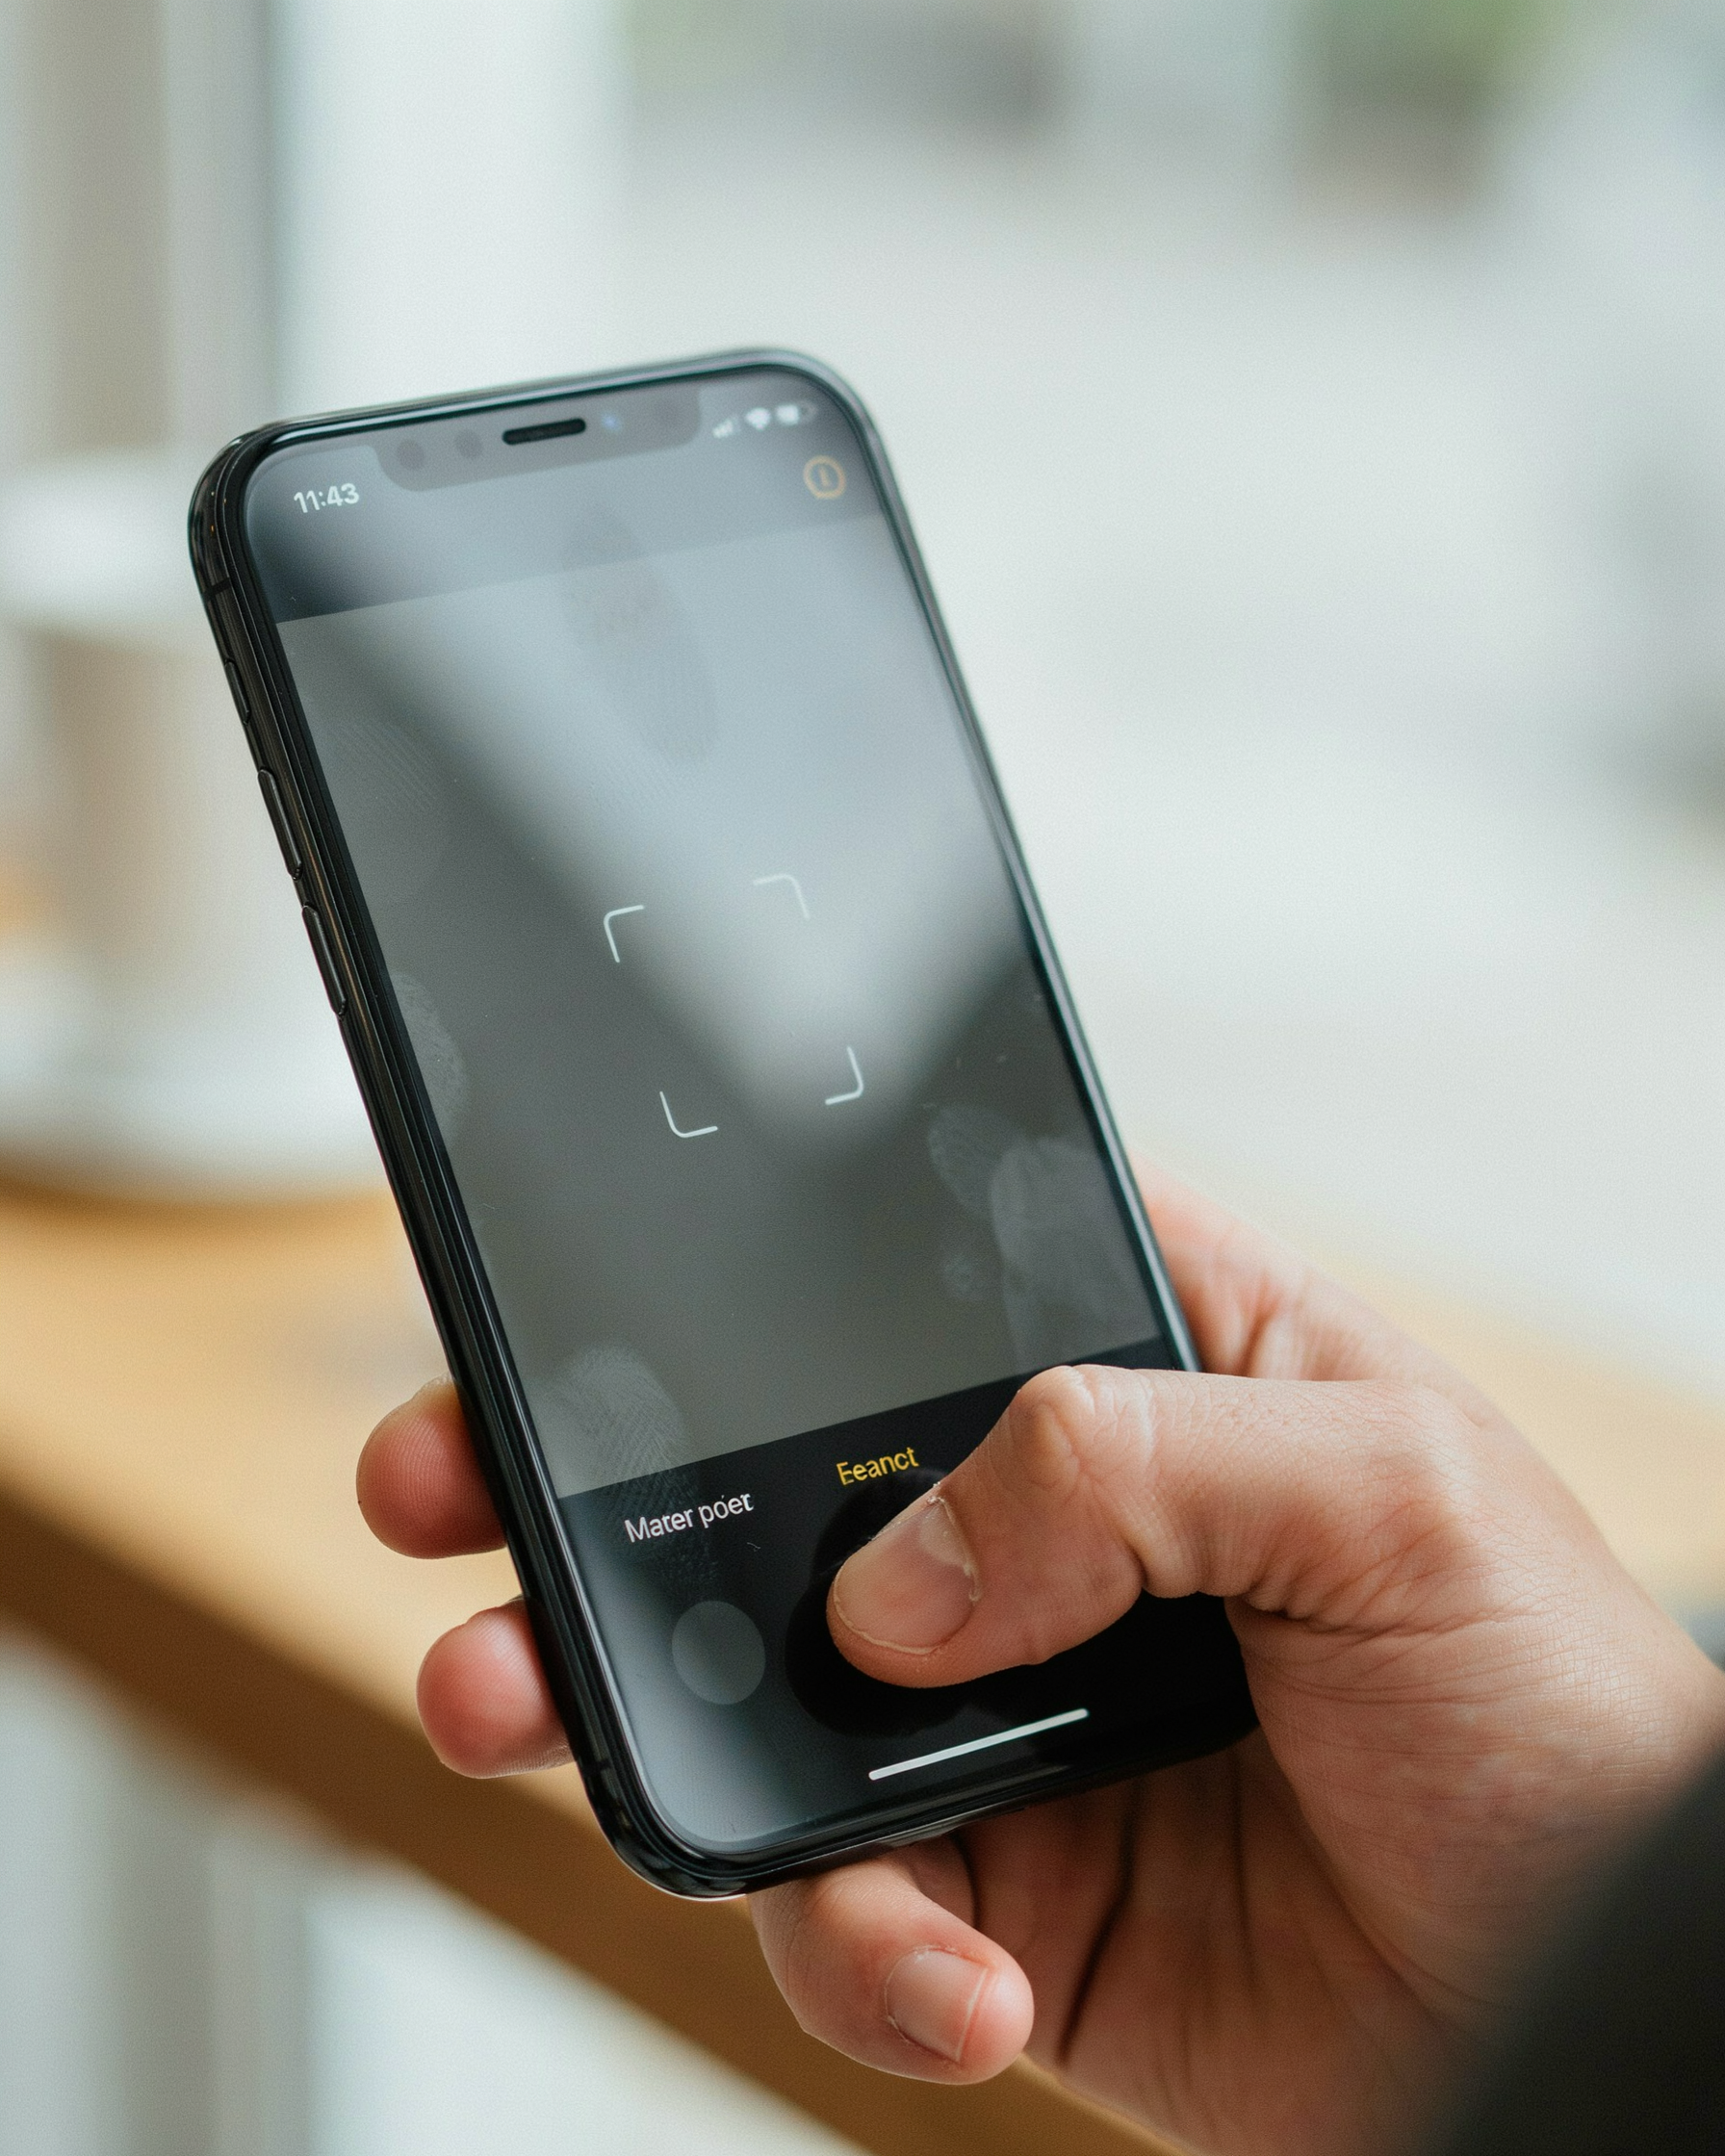
If you’ve just landed and picked up your Bali eSIM from the airport desk, the iPhone setup takes about five minutes. We’ve walked hundreds of travelers through this exact flow, and the path hasn’t changed across recent iOS versions. Open Settings, tap Cellular, then tap Add eSIM. Your phone will ask whether you want to use a QR code or transfer from another device.
Choose Use QR Code. Point your camera at the QR code on your laptop screen or at the printed card we hand you at pickup. The camera reads the code in under a second. If it doesn’t, tap “Enter Details Manually” and type the SM-DP+ address along with the activation code printed on your card.
Once the QR code scans, iOS shows a preview of the plan. Tap Continue, then Add Cellular Plan. Your iPhone will now show two lines: your home carrier and the new Bali eSIM. Label the Bali line something obvious like “Bali Travel” so you don’t mix it up later.
Now set the default line for data. Go back to Settings, tap Cellular, then Cellular Data. Select your Bali eSIM as the data line. Leave your home line as the default for voice and SMS unless you plan to make local calls. This keeps your normal number working for iMessage and FaceTime while all internet traffic flows through the Bali plan.
One thing travelers miss: turn off Allow Cellular Data Switching on the same screen. If both lines are active and you hit a weak spot, iOS may silently switch data back to your home carrier and rack up roaming charges. Turning this off locks data to the Bali eSIM.
After that, wait for the signal bars to appear next to the Bali plan label. Usually it’s under a minute. Open Safari and load any page to confirm. If nothing loads, toggle Airplane Mode on and off once. That forces the phone to re-register with the local network.
eSIM Setup Bali: Step-by-Step for Android
Android handles eSIM setup Bali slightly differently depending on the brand, but the core path is the same: Settings > Connections > SIM manager > Add eSIM. On a Samsung Galaxy, open Settings, tap Connections, then SIM manager, and choose Add eSIM. On a Google Pixel, go to Settings > Network & internet > SIMs, then tap Add SIM. Both lead to the same QR code scanner.
Before you start, make sure you have the QR code from your booking email open on another screen or printed out. Android phones need a stable internet connection during setup, so connect to airport Wi-Fi first if you can. The scanner can be picky about glare, so hold the phone steady and let the camera focus.
Once the QR code scans, your phone shows a confirmation screen with the carrier name and plan details. Tap Download or Add, then wait for the eSIM profile to install. This usually takes under a minute. After installation, Android asks whether you want to use the new eSIM for mobile data. Choose yes, and then decide which line handles calls and texts. Most travelers keep their home SIM as the primary line for calls and set the Bali eSIM as the data line only.
One thing that catches people out: some Android phones label the eSIM as “SIM 2” or show it under a generic carrier name like “Tri” or “Indosat” rather than “Bali eSIM.” That’s normal. You can rename it in the SIM manager to something like “Bali Data” so it’s easy to spot later. If the scanner doesn’t work, you can also enter the activation code manually. Look for an option called “Enter code instead” or “Use activation code” on the same screen where the scanner opens.
After the eSIM is active, turn off data roaming on your home SIM and make sure mobile data is set to the Bali eSIM. Test it by loading a map or sending a WhatsApp message before you leave the airport. If nothing loads, toggle airplane mode on and off once. That forces the phone to reconnect to the local network.
Scanning the Bali eSIM QR Code: What to Expect
The Bali eSIM QR code arrives as a square, black-and-white grid, usually attached to the confirmation email you receive after booking through simcardairportbali.com. Some plans also include a printed copy at the airport pickup counter, which is handy if your inbox is buried under flight confirmations. The code itself looks like any other QR code, but it contains a unique activation profile tied to your specific data plan.
When you scan it with your phone’s camera, the screen changes quickly. On iPhone, a yellow notification appears at the top saying “Cellular Plan Detected,” and tapping it opens the Add Data Plan flow. On most Android phones, the camera app shows a link or a “Add eSIM” prompt. From there, the phone downloads the carrier profile, which usually takes under a minute on airport Wi-Fi.
Scan failures are almost always environmental, not a problem with the code. Poor lighting is the biggest culprit: hold the phone steady about 15 cm from the screen, and move to a brighter spot if the camera won’t lock on. A cracked or smudged camera lens can also blur the pattern enough to break scanning, so wipe the lens with a clean cloth first. If the code still won’t scan, open the email on a second device or print it, because a dimmed or low-resolution screen can confuse the camera. The QR code itself stays valid until you successfully activate it, so there is no rush to get it perfect on the first try.
Choosing Your Data Plan and Setting the Default Line
Once your eSIM is installed, the next decision is which line handles what. Most travelers get this backwards at first, so let’s clear it up. Your Bali eSIM should carry data, while your home line stays active for calls and messages. That setup keeps WhatsApp and iMessage working on your regular number without burning through roaming data.
On iPhone, go to Settings, then Cellular, then Cellular Data, and pick your Bali eSIM as the data line. Keep your home line selected for voice. Android users find the same controls under Settings, Network & Internet, SIMs, then Mobile data. Pick the Bali eSIM there. This routing matters because a phone can only use one data connection at a time, and you want that to be the local plan.
If you need to make a local call to a villa or driver, switch the voice line temporarily. It takes ten seconds and saves you from international call charges. We recommend leaving data on the Bali eSIM permanently for the trip, because apps like Gojek and Grab pull location constantly and will eat a roaming allowance fast.
Before you land, check the plan size against your trip length. A 10GB plan suits a week of maps, messaging, and light streaming. Heavy video users should look at the Get the Pocket Friendly Bali eSIM Card 53GB Data at Airport option, which covers even long stays comfortably.
Airport Pickup and Activation: How simcardairportbali.com Works
Most travelers land in Bali tired, hot, and slightly overwhelmed. The last thing you want is to hunt for a SIM card stall while dragging luggage through Ngurah Rai arrivals. That’s why we built our airport pickup flow around one idea: you order before you fly, and your eSIM QR code is waiting when you land. No queues, no passport photocopies, no haggling.
Here’s how it works. You choose a plan on our Bali SIM Card & eSIM Plans for Tourists page and complete checkout online. We send a confirmation email with your order details and a pickup point inside the airport. When you arrive, you show that confirmation at our desk, and we hand you a printed QR code. The whole exchange usually takes under five minutes.
Activation happens right there in the terminal, before you step outside to find your driver. You scan the QR code, follow the on-screen prompts, and your data connection goes live. Doing it at the airport means you can test everything immediately, message your villa host, and load Grab or Gojek without relying on airport Wi-Fi. If something looks off, our team is standing a few meters away, not behind a chat window.
For a deeper look at which phones support eSIMs and what to check before you travel, our Bali Airport eSIM Guide: Compatible Devices, Activation, and Prices covers device compatibility, plan options, and the exact pickup location. It’s worth a read on the plane.
One thing to know: airport pickup works best when you order at least a day ahead. Same-day orders are possible, but a little buffer means your QR code is printed and ready, not being generated while you wait. If your flight lands late at night, the desk still operates on a schedule that matches most international arrivals, so you won’t be stranded without data.
Troubleshooting Common Bali eSIM Activation Problems
Most bali esim activation hiccups come down to one of four issues, and each has a straightforward fix. Start by turning your phone off and back on. That simple step resolves more activation failures than any settings change, because it forces the device to re-read the eSIM profile from scratch.
If your screen shows “No SIM” after you scan the QR code, the profile didn’t install correctly. Go to Settings, then Cellular or Mobile Data, and check whether the eSIM appears under your plans. If it’s missing, delete any partial profile and scan the QR code again. Make sure the camera lens is clean and you hold the phone steady until the frame turns green. On iPhone, you can also enter the details manually using the SM-DP+ address and the activation code we include with every order.
A “QR code already used” message means the profile was activated on another device or a previous scan consumed it. This can happen if you scanned the code twice or if the eSIM was installed on a different phone first. Contact our support team through the website and we’ll issue a fresh QR code, usually within a few minutes during airport pickup hours.
APN settings not applying is a common Android issue. After the eSIM installs, go to Settings, then Connections, then Mobile Networks, and tap Access Point Names. The APN should read “internet” for most Bali networks. If the field is blank or shows something else, create a new APN with that name and leave the other fields as they are. Save it, select it, and toggle airplane mode on and off.
No signal after activation often means the phone is still trying to use your home SIM for data. Check which line is set as the default for cellular data and switch it to the Bali eSIM. Also confirm data roaming is enabled for the eSIM line, because some phones treat a foreign network as roaming even when you’re physically in Bali. Wait up to five minutes for the network to register.
If none of these steps work, the issue is usually with the profile itself rather than your phone. Our team at simcardairportbali.com can check the eSIM status on our end and push a replacement profile when needed. Bring your phone to the airport counter if you’re still nearby, and we’ll sort it out before you leave the terminal.
eSIM Installation Guide Bali: What to Do If Activation Fails
Most bali esim activation failures are not serious. The fix usually takes under two minutes. Start with the basics before you contact anyone.
Restart the phone first. A full power-off and power-on clears temporary network handshakes that block the profile from registering. After the restart, toggle airplane mode on for ten seconds, then off. This forces the device to search for the local carrier signal again. On most phones, the eSIM label appears in the status bar within a minute of doing this.
If the label still does not show, go back to your QR code. Open Settings, then Cellular or Mobile Data, then Add eSIM. Scan the QR code again. A second scan does not create a duplicate line. It re-reads the same profile and often completes a half-finished install. Make sure you are connected to Wi-Fi or have a working data connection while scanning, because the phone needs to reach the carrier server to finish the setup.
Check the APN next. On some Android phones, the APN field stays blank after an eSIM install. Go to Settings, then Mobile Network, then Access Point Names. The correct APN for most Indonesian carriers is “internet”. If the field is empty, add it and save. Then toggle airplane mode once more.
If none of that works, contact support before you delete anything. Deleting the eSIM profile removes the plan from your phone, and you cannot reinstall it without a fresh QR code. Send a screenshot of your settings screen to the team at simcardairportbali.com. They can check the profile status on the carrier side and resend the QR code if needed.
Here is the fallback sequence in order:
- Restart the phone completely.
- Toggle airplane mode on, wait ten seconds, toggle it off.
- Re-scan the QR code while on Wi-Fi.
- Check the APN and set it to “internet” if empty.
- Contact support with a screenshot before deleting the profile.
Most travelers who follow this eSIM installation guide Bali sequence get connected without needing a replacement plan.
Data Speeds, Coverage, and What to Expect After Activation
Once your bali esim activation is done, the first thing you’ll notice is how quickly maps and ride-hailing apps load. In dense tourist areas like Kuta, Seminyak, and Canggu, 4G speeds on the main networks usually sit between 15 and 40 Mbps down. That’s more than enough for video calls, streaming music, and uploading photos to social media.
Ubud is a little different. The town centre gets solid 4G, but speeds can dip to around 5 to 10 Mbps in the late afternoon when cafes and coworking spaces fill up. Head north toward Munduk or east toward Sidemen and you’ll drop to 3G or patchy 4G in places. The eSIM doesn’t care where you are; it just connects to whichever local network has the strongest signal at that moment.
5G exists in parts of Denpasar and along the main tourist corridor, but coverage is still inconsistent. Don’t plan your trip around it. A stable 4G connection beats a flickering 5G icon every time.
When you move between regions, the handoff is usually seamless. You might notice a brief pause as the eSIM re-registers on a new tower, but it rarely lasts more than a few seconds. If you’re on a video call, expect one short stutter. That’s normal.
For most travellers, the real question is whether the connection holds up for navigation and WhatsApp. It does. We’ve seen customers stream Spotify on the beach in Canggu without buffering, and that’s the level of reliability you should expect after a successful setup.
Managing Your Bali eSIM During Your Stay
Once your bali esim activation is done, the real test is keeping the connection healthy through your trip. Check your remaining data in your phone’s cellular settings, where the eSIM line shows current usage. Most plans from Bali SIM Card & eSIM Plans for Tourists include a set gigabyte allowance, so a quick glance every couple of days prevents surprises.
If you run low, topping up is straightforward. You can buy an additional package online or through the provider’s app, and the new data usually lands on the same eSIM without a second QR scan. Switching between your home line and the Bali eSIM is just as easy: keep your primary number for calls and texts, and set the eSIM as the default for mobile data. That way WhatsApp and maps keep working while your home number stays reachable.
When your plan expires, the eSIM itself doesn’t disappear. The data stops, but the profile stays on your phone until you delete it. For a short holiday, that’s fine: remove the eSIM from your settings before you fly home, or leave it for a future trip. If you booked through simcardairportbali.com, the team can help you extend or replace a plan if your stay runs longer than expected.
Frequently Asked Questions
Does bali esim activation work on locked phones?
No. A carrier-locked phone will reject any eSIM from a different network, so bali esim activation only works on unlocked devices. Check with your home carrier before you travel, or bring a spare unlocked phone if you’re not sure.
How long does bali esim activation take?
Usually under five minutes. The QR code scan takes seconds, and the profile downloads as soon as you have Wi-Fi or mobile data. We send the QR code by email right after checkout, so you can activate before you even land in Bali.
Do I still need a physical SIM card in Bali?
No. An eSIM replaces the physical SIM entirely. You keep your home SIM active for calls and texts if you want, but data runs through the Bali eSIM. That dual-line setup is why most tourists prefer it.
Can I activate my Bali eSIM before arriving?
Yes, and we recommend it. Scan the QR code while you still have home Wi-Fi, then switch the eSIM on when you land. Your data plan starts when the eSIM first connects to an Indonesian network, not when you scan.
What if the Bali eSIM QR code won’t scan?
Clean your camera lens and hold the phone steady about 15 cm from the screen. If it still fails, enter the activation code manually in your phone’s eSIM settings. Our support team can resend the QR code within minutes if needed.

